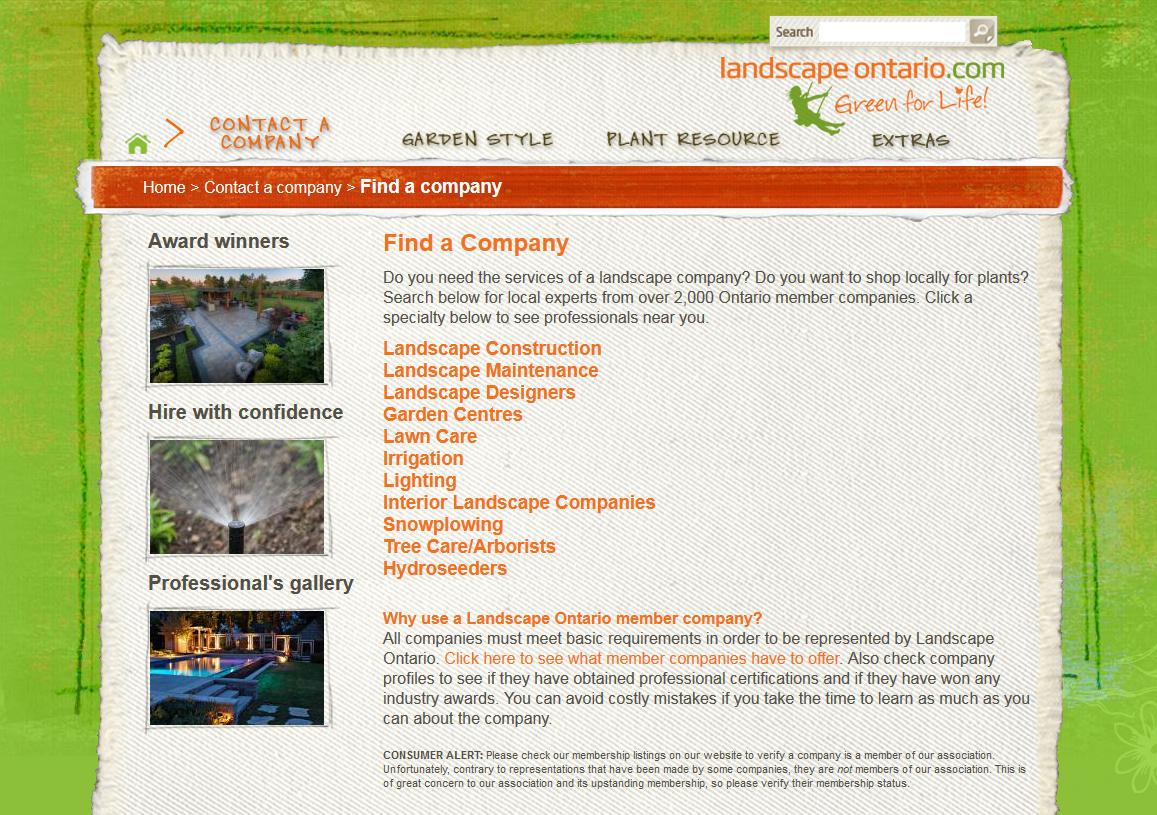
Update your online member profile
Advertise your services to the thousands of people visiting LO’s popular Green for Life website
| Landscape Ontario members (active category) are strongly encouraged to create or update their member profile to advertise their company and services to thousands of consumers who are inspired about landscaping, horticulture and outdoor living at landcapeontario.com. Members can now add their company logo, up to twelve photos of their work and addresses of clients to more clearly define the areas they service even outside of their chapter boundaries!
Spending only a few minutes to update your profile will make your company easier to find when a potential client searches for an LO member to do work on their home or business. It’s like having your very own page within the popular LO site. You are no longer restricted to people finding your company based on where your head office is located. If you do work in several cities and towns, by entering those client addresses in your profile, potential customers in those cities and towns will find you! |
 |
How the new Find a Pro search function works |
||
| To find a local Landscape Ontario member, visitors to www.landscapeontario.com will be asked to enter their postal code to determine their location. Once they conduct a search, the results show members who are located closest to that location and members who have done work in their area only if you have added client addresses to your profile. The work area is defined by adding the addresses of clients to your member profile, under Add Client Addresses (advanced and step-by-step instructions below).
For example, if your head office is in Vaughan, and someone from Scarborough enters their postal code to search for an LO member, if you have done work in Scarborough and entered that clients address in your LO member profile, your company name will appear high on the list of search results for that person in Scarborough. |
 |
|
 Quick instructions for advanced users to update an existing member profile:
To add a logo to an existing profile:
- Go to www.locc.ca and login.
NOTE: Or, you can access the login screen from any page on the www.horttrades.com website from the horizontal menu bar under Sign In, My Profile - You are now at the main member screen. Choose Edit Member Profile on the right under your company name in bold.
- At the bottom of the profile page that appears, click Browse to locate the logo file on your computer, and choose Open to attach it. Acceptable file formats are .jpg, .gif and .png.
- Choose Save changes
To add images to your profile:
- At the member screen (illustration above), choose Add/Remove Photos.
- Browse to locate and open the image. Once it is uploaded, you will see a thumbnail shot of the image and you will be able to continue adding images the same way. You can add up to twelve images for your company profile. Horizontal shots work best.
Only .jpg file format accepted.
Images are not associated with the Client Address feature.
To add a client address to your profile:
The purpose of adding client addresses is to define the cities/towns in which you do work even if you are located in another area.
- At the member screen, choose Add Client Addresses.
- Click Add Client Address
- Enter a name (recommended to keep track of the clients you have entered) and brief description (optional) for that project. If you do include both a project name AND a description, they will both show up in your public profile.
- Continue by adding the street number and address, city and province for that project. Addresses do not show up in your public profile.
- Choose Save Project Information
- A map will verify the location of your project. The location does not have to be exact. Choose Continue to Main Menu to go back to the main member screen.
If the map is unable to find the specific address you entered, try using just the postal code and leaving the street and other specific information fields blank.
You can add as many client addresses as you wish. The addresses you enter will expand your work area (if you do work outside your chapter boundaries or in many cities and towns. It will also increase your chances of appearing at the top of the search results list when a potential customer searches for a member on the consumer website.
Step-by-step instructions to create or update your profile
| Step 1: Login Go to www.locc.ca and login with the email address and password you used to setup your account. NOTE: Or, you can access the login screen from any page on the www.horttrades.com website from the horizontal menu bar under Sign In, My Profile You will then see a screen to enter your company information to verify you are a member and will need to select a password to create your account. The details must match the information we have in our database for your company EXACTLY, or it will not link you up to your company. For example, if you enter ABC Landscaping Limited. and we have it as ABC Landscaping Ltd, it will not match. Step 2: Create or Edit a ProfileOnce logged in, on the right side of the member screen (see below), are links to Edit Member Profile (this is where you can add your company logo), or Create a Member Profile. If you already have an existing profile, choosing Create a Member Profile will also allow you to edit or add a logo to your existing profile. This is also the area you will use later to add photos and projects to your profile. Step 3: Profile DetailsChoose Edit Profile/Add Logo to see the profile page below. Check off areas that are relevant to your company and enter details in the various fields. There is no field to add your company website. To have your website added, please email your website address to Landscape Ontario at communications@landscapeontario.com or rob@landscapeontario.com. Step 4: LogoAt the very bottom of the profile page, you can Browse your computer to locate a logo file to upload to your profile. Only .jpg, .gif and .png file formats will work. We recommend using a logo on a plain white background. When done, click Save profile at the bottom of the page to return to the main member screen. Step 5: Add a Client AddressBack at the member screen, choose Add Client Addresses. Choose Add Client Address Complete the fields for this screen including a project name (recommended to keep track of your projects), description (optional if you want the project to show up in your public profile) and address of the job site or project. Addresses do not show up in your public profile. When done, choose Save Project Information at the bottom. NOTE TO INTERNET EXPLORER USERS: You may receive an extra pop-up notification box after clicking on Save Project Information warning you about displaying both secure and non-secure items. If you receive this message, click Yes to proceed. The next screen will show a map to verify the address was found. The location does not have to be an exact match, but should be close. If the map is unable to find the specific address you entered, try using just the postal code and leaving the street and other specific information fields blank. Step 6: Add PhotosBack at the member screen, choose Add/Remove Photos. Click Browse to locate a .JPG image on our computer. We recommend using ONLY HORIZONTAL images. For best consistency, as 4:3 aspect ratio works best (ie: 800 pixels wide by 600 pixels tall). Once you locate and Open the file, choose Upload Photo. Once uploaded, you will see a thumbnail image of your uploaded photo. Click Browse to upload another photo, to a maximum of twelve. Photos are shown in your profile in random order. When finished, click the Main Menu link in the bottom left corner to return to the main member screen. |
Website links
A note about links to your website. If we have your website in our database, it automatically shows up in the top-right corner of your company profile page as a link to your site. It IS NOT something you are able to add. If you do not have a link, contact Robert Ellidge at rob@landscapeontario.com to have it added to your company information.


